
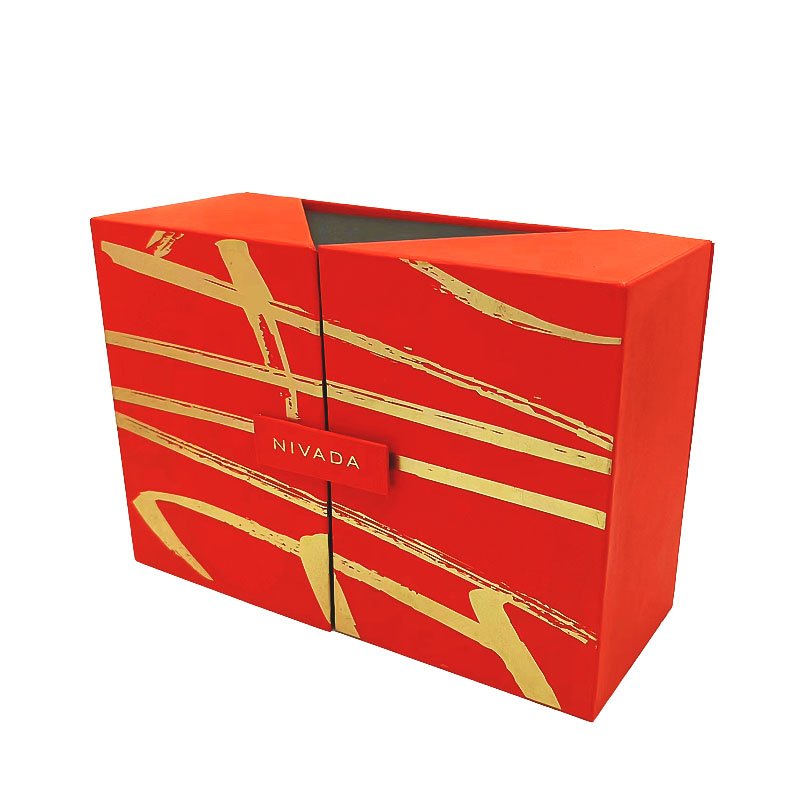
Printed colour gets your design onto the box. Finishes decide whether people notice it. They also decide whether it still looks good after a warehouse, a container and a retail shelf — and every one of them is a separate pass through a separate machine, with separate tooling and its own register tolerance.
Start from the print method
Hot foil, embossing and spot UV all sit on top of offset-printed sheet, so the base decision is made before them. Offset gives you consistent colour across a run and the full finishes menu; digital is the right call below roughly 500 pieces or when you are testing three variants, but the toner surface takes foil and heavy embossing less predictably than ink on coated stock. If a finish is central to the design, print it conventionally.
Hot foil stamping
A heated magnesium or copper die presses a carrier film against the sheet, and the foil releases only where the die touches. What to know:
- Tooling is per design and adds days, not hours, to the first order.
- Fine detail has a floor. Under about 0.3 mm a stroke fills or drops out; small text in foil usually reads better reversed out of a solid foil block.
- Registration over print is the risk. A 0.5 mm shift against a dark background is invisible; the same shift against a white panel edge is obvious. Keep foil clear of other elements unless you want the gap.
- Colours behave differently. Gold and silver are stable; matte and holographic foils cover well; pastel and gloss black foils are thinner and show the substrate through them.
Embossing and debossing
A matched male and female die press the sheet into a raised or recessed shape. Depth is the variable that matters most: a light emboss on a 128 gsm coated sheet is a texture you feel with a thumb, while a deep emboss needs a soft board and a wrap that will not crack — a long-fibre specialty paper tears at the pattern edge, and a foil that has already been laid down will fracture in the draw.
On rigid boxes, embossing is usually done on the flat sheet before wrapping, or on the wrapped panel with a fixture. The second gives sharper corners and must be quoted as a separate step.
Soft-touch lamination
A matte polypropylene film with a velvet coating, laminated over the printed sheet. It is the single most effective way to make a box feel more expensive than it is, and it also protects the print from scuffing better than an uncoated matte varnish. Two costs come with it: it suppresses colour slightly, so proofs must be pulled on the laminated stock, and it shows fingerprints and permanent marks on dark panels. Black soft touch looks superb and marks easily; a kraft or cream panel forgives a great deal more.
Spot UV
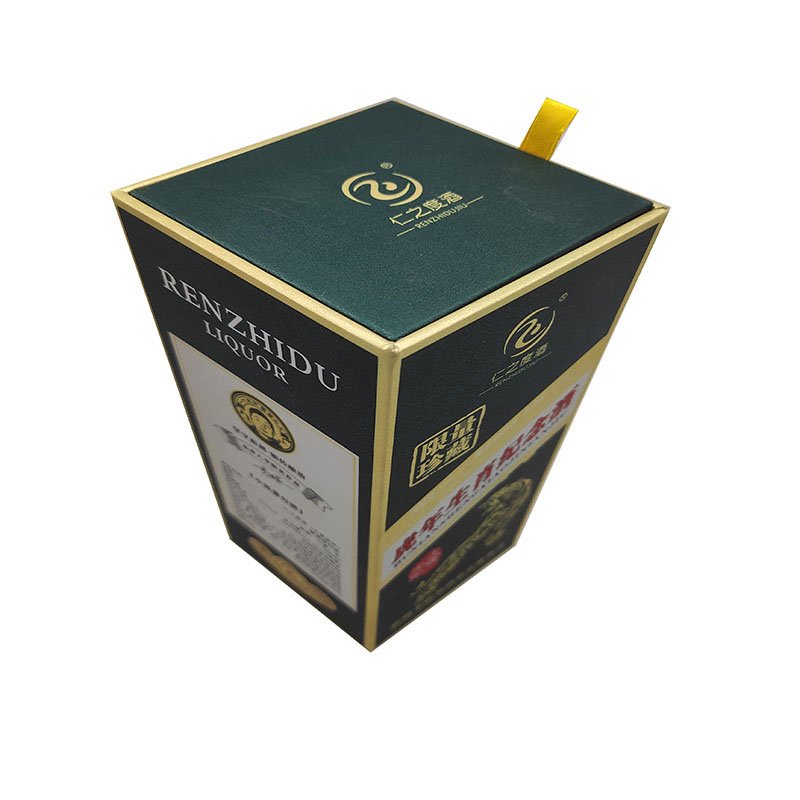
A raised, glossy varnish applied only where you want it, over a matte base — the contrast is the whole point, which is why spot UV on a gloss sheet is nearly invisible. It reproduces fine artwork well, but it will not register inside fractions of a millimetre, so avoid putting glossy text directly over printed text. Where a box is handled constantly, spot UV will scratch before soft touch marks; keep it on panels that are looked at rather than gripped.
How they combine
Sequence matters and is fixed by physics, not preference: print, then laminate, then foil, then emboss, then varnish. Every additional pass is another register opportunity, so a box carrying foil, emboss and spot UV should be designed with deliberate clearances between features. Where two finishes must meet exactly — foil inside an embossed outline — plan for a slight tolerance and test it before you commit the layout.
How we test them
- Scuff and rub on the finished sheet, including the foil edges where the die bit hardest.
- Tape adhesion across foil and emboss to check the layer did not stay loose.
- Cold and heat cycles for export freight, because a foil that survives a shelf in one climate can lift inside a container in another.
- Stack crush, since embossed areas are where a stacked panel fails first.
If you want a physical reference before committing, ask for a finish sample card with your proof. Describe the surfaces you are weighing up on our contact page and we will send swatches rather than a spec sheet.