
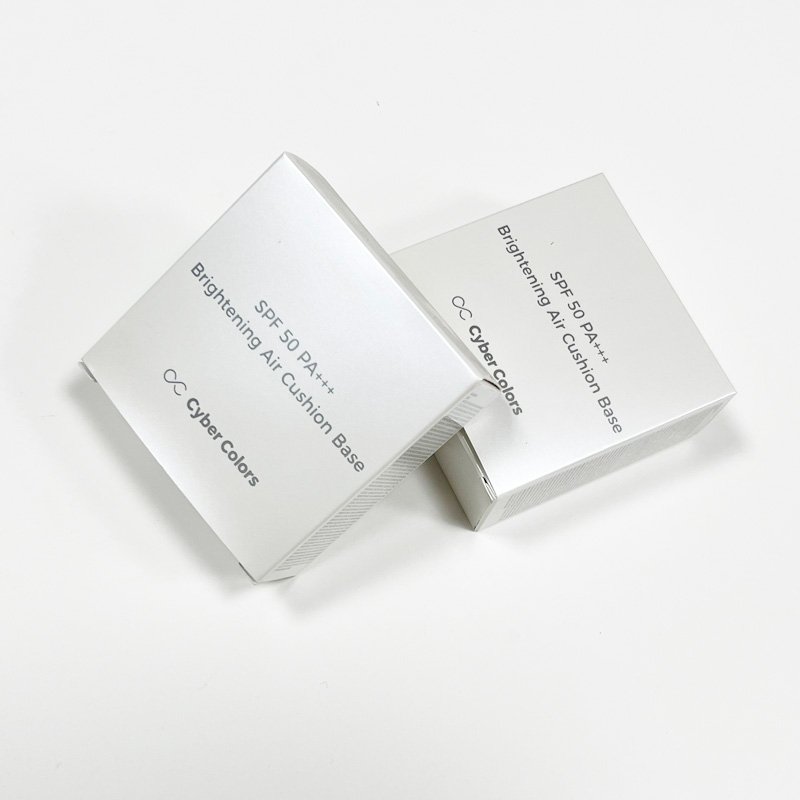
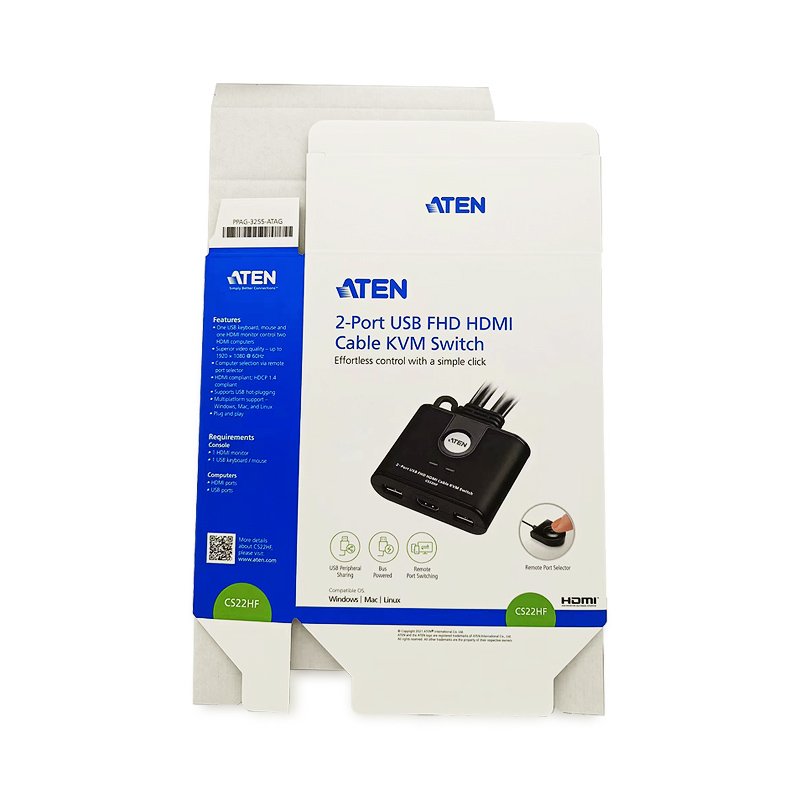
Most buyers meet the dieline for the first time as a PDF with pink lines on it, and treat it like a blank canvas. It is not. The dieline is the manufacturing instruction for your box: the flattened, scaled drawing of every panel, flap and glue tab, with the exact dimensions the die cutter will follow. Artwork is placed inside it, and whatever falls outside it gets cut off.
The three line types on a dieline
- Cut lines mark where a blade separates the board from the sheet, including the corners of the box and the edges of the glue flap.
- Crease and score lines mark where the board is compressed so it folds cleanly. On thin coated board these are perforated creases; on 1.5 mm greyboard they are cut-and-creased scores whose depth has to match the board thickness. Too shallow and the fold springs open, too deep and the corner loses strength.
- Bleed and safe margin sit relative to the cut line. We ask for 3 mm of bleed beyond every cut edge and 4 mm of clear space inside it, because a press or die can shift by a millimetre across a run and you do not want that showing as a white hairline on a black panel.
Structure decides the dieline, not the other way around
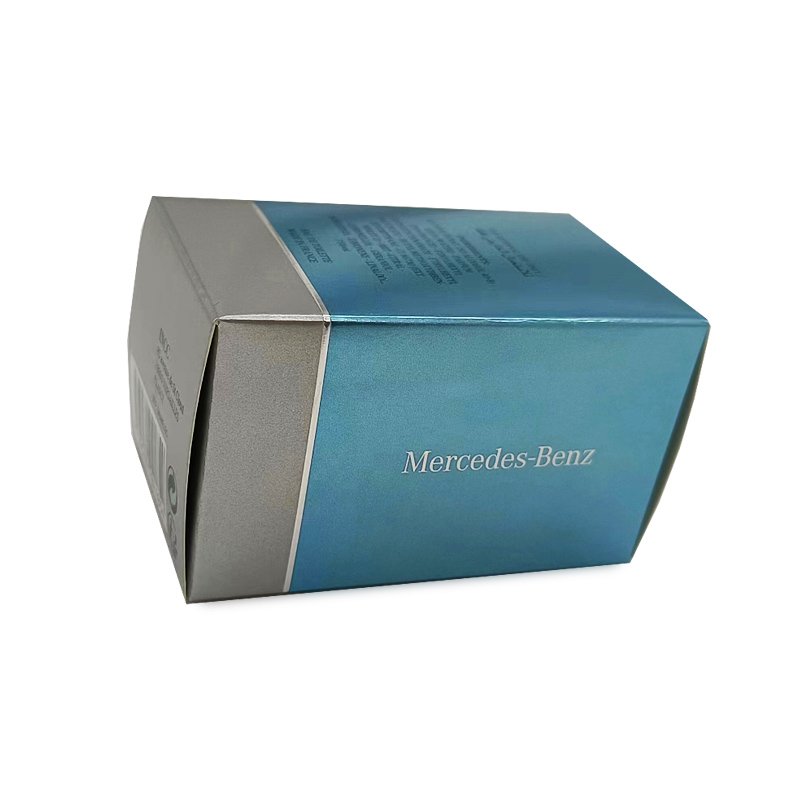
Pick the structure first, then let the dieline follow. A straight tuck end gives you the flattest, cheapest tooling but shows a slot at both ends. A reverse tuck puts one flap on the opposite wall, which hides the slot behind the product and reads tidier on a shelf. An auto-lock bottom snaps into a self-locking base and removes a glue operation, at the cost of a slightly heavier board so the tabs survive repeated opening. A roll-end tuck top mailer is a single piece with no separate lid, which is why it is the workhorse of e-commerce. A sleeve has no hinges at all — the friction fit is the closure, and it only works if the dieline is sized to the product within about half a millimetre.
Each of these changes the panel count, the total sheet area, and therefore the paper cost per unit. If your designer hands you a beautiful box photo and asks for that, the honest question back is: which of those structures is it?
From approved dieline to plate
Once the flat pattern is approved, it becomes an imposition file. We place the panels onto a sheet that the press and the die can both use, add the marks the equipment needs — colour bars, registration crosses, fold marks, and a die line layer — and separate every special process onto its own spot channel. Foil areas, emboss areas and spot UV varnish each need their own layer, drawn as 100 percent solid vector with no overprint surprises.
Only then do we go to plate. Our computer-to-plate output means the plate is exposed straight from the imposition file, so what you see in proof is what prints, with no film stage in between to introduce a shift.
Five dieline mistakes that cost the most
- Sizing artwork from the assembled box. A 60 mm deep box is not a 60 mm panel: the flat width includes side walls, the glue flap and the fold allowance.
- Text or a face across a crease. Anything important that crosses a fold will be visually broken when the box is erected.
- A window over a glue tab. Die-cut windows are welcome, but not where a panel bonds, and not within a few millimetres of a crease.
- No thickness allowance on a rigid box. Wrap paper has to be turned in over the board edge, and the turn-in depth depends on how thick the core is.
- Not declaring the board. If the dieline does not say what it will be cut on, the score depth is guesswork.
What we need to draft the first version
Product dimensions and weight, a photo from more than one angle, the price point the packaging has to support, the quantity band, and how it travels — carton-ship single units, or assemble in-market. With those five things we can send a dieline back for your artwork rather than asking you to guess one.
If you have a structure in mind and no file yet, send us the details on our contact page and we will draw the first flat pattern for you.